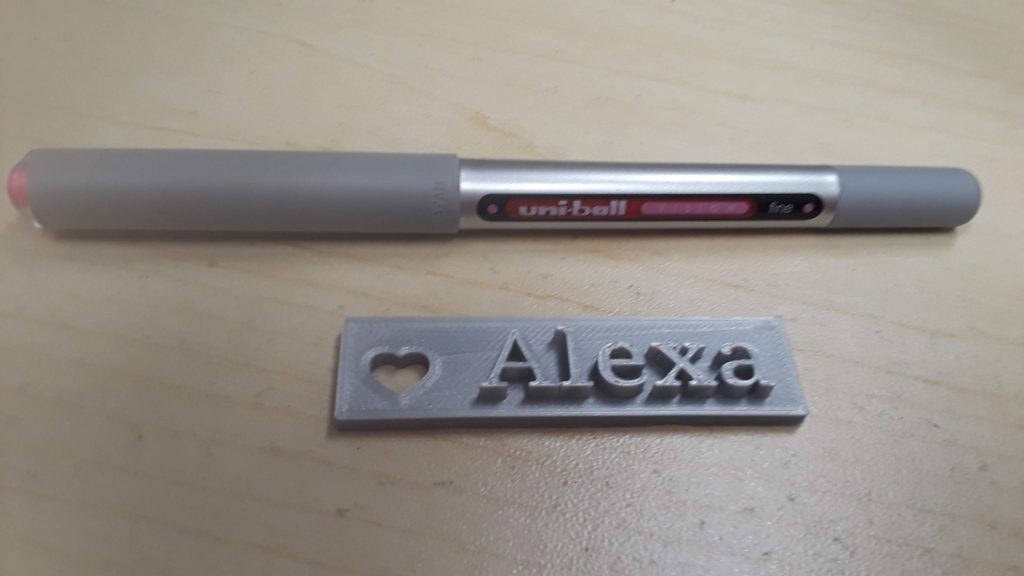
During the Fall of 2018, I attended a 3D printing workshop where we made a name tag and I got my first introduction to TinkerCad.
In October 2018, an Ultimaker 3 3D printer was delivered to our library. I unboxed it at the beginning of November, set it up, and gave myself a crash course in actually using it, and now I teach the 3D printing workshops in my library. Because 3D printing takes a lot of time, I use a PowerPoint presentation to show the various aspects of 3D Printing.
3D-Printing-DemoPedagogy
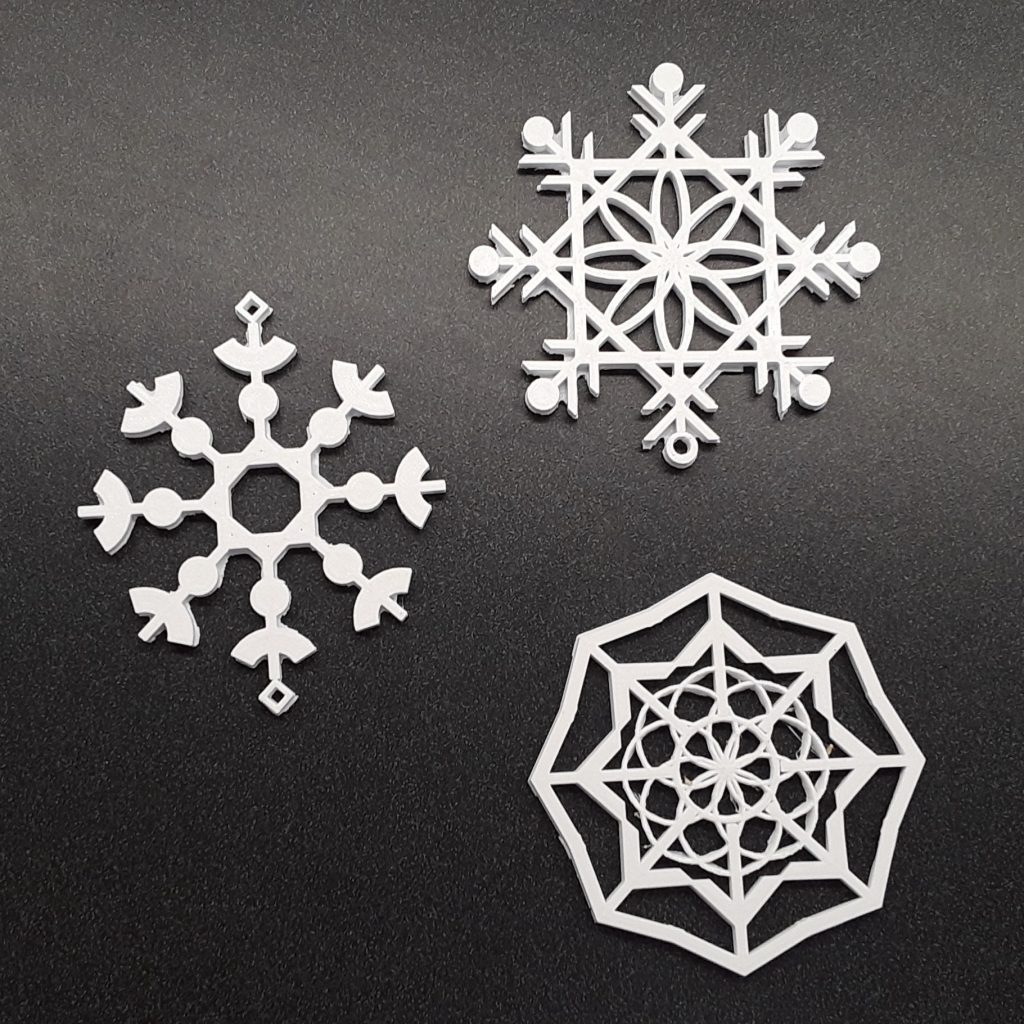
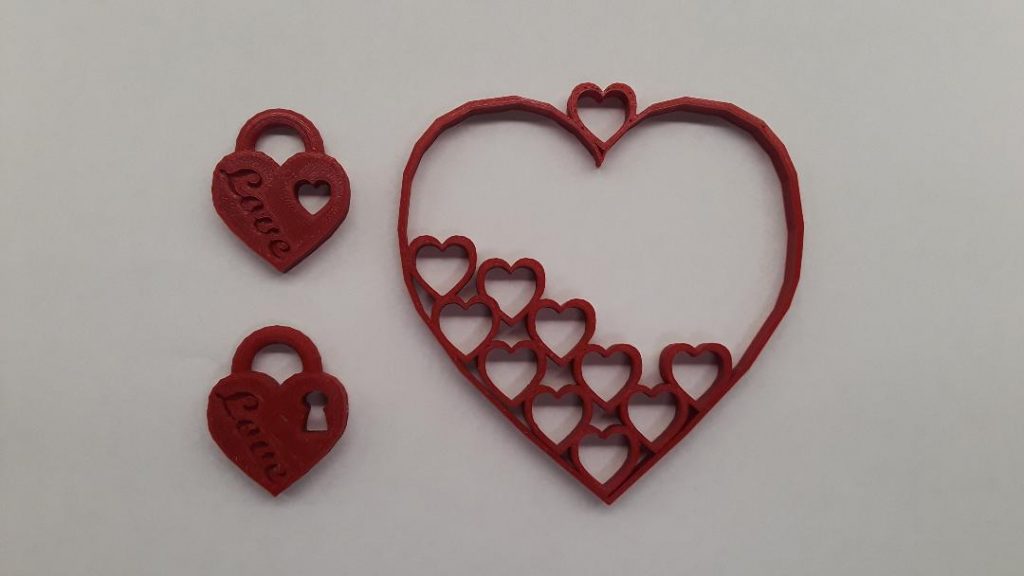
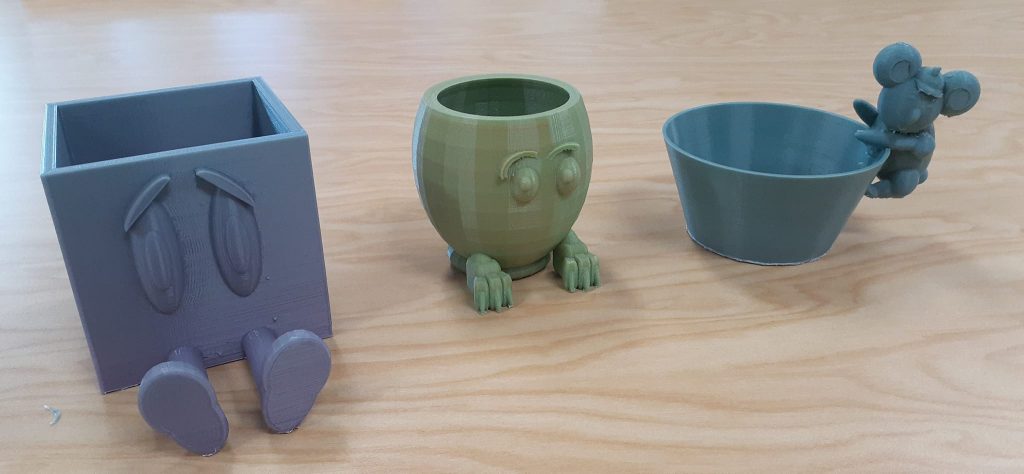
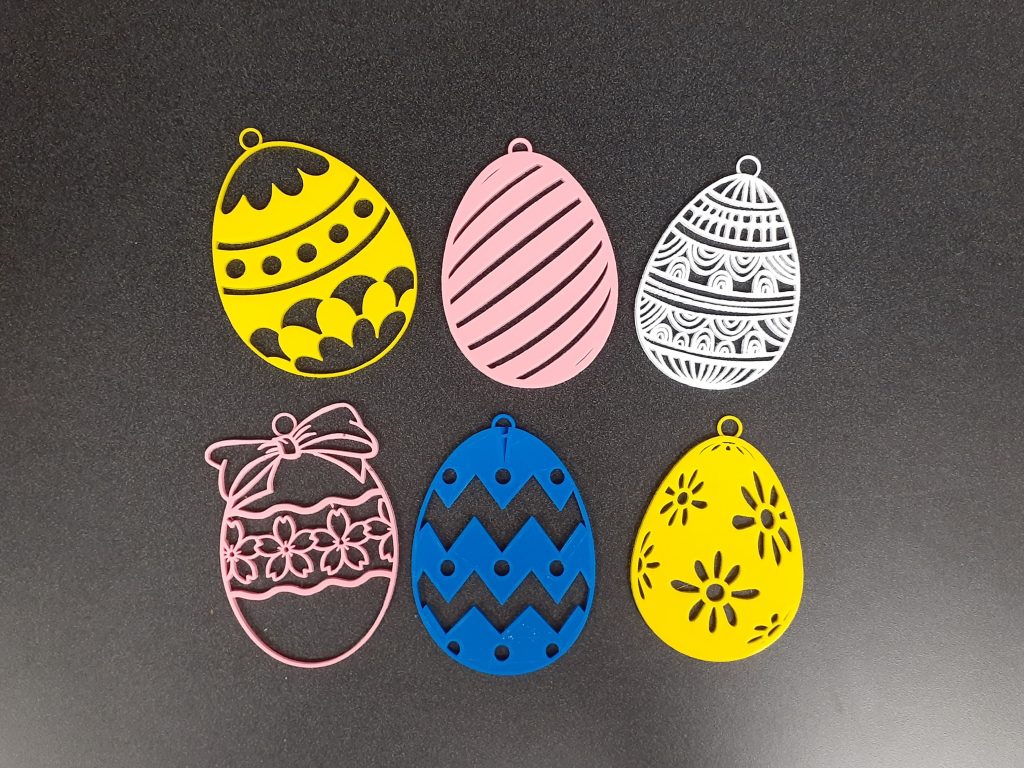
One thing I feel strongly about is teaching students how to design their own projects. Anybody can download a file and print it, but when you have to design something, you have to use higher level critical thinking skills to think about not only how to design the object but how it will print. After a year of teaching people how to design a key tag in TinkerCad, which seems to be a entry level project in many libraries, I created six new projects for students to design – snowflakes, a heart ornament, and a padlock heart pendant, succulent planters, hanging ornaments, and signs.
When students do these projects along with me, they are encouraged to make the project their own, and inevitably, every single project looks different as students get into the creative process.